
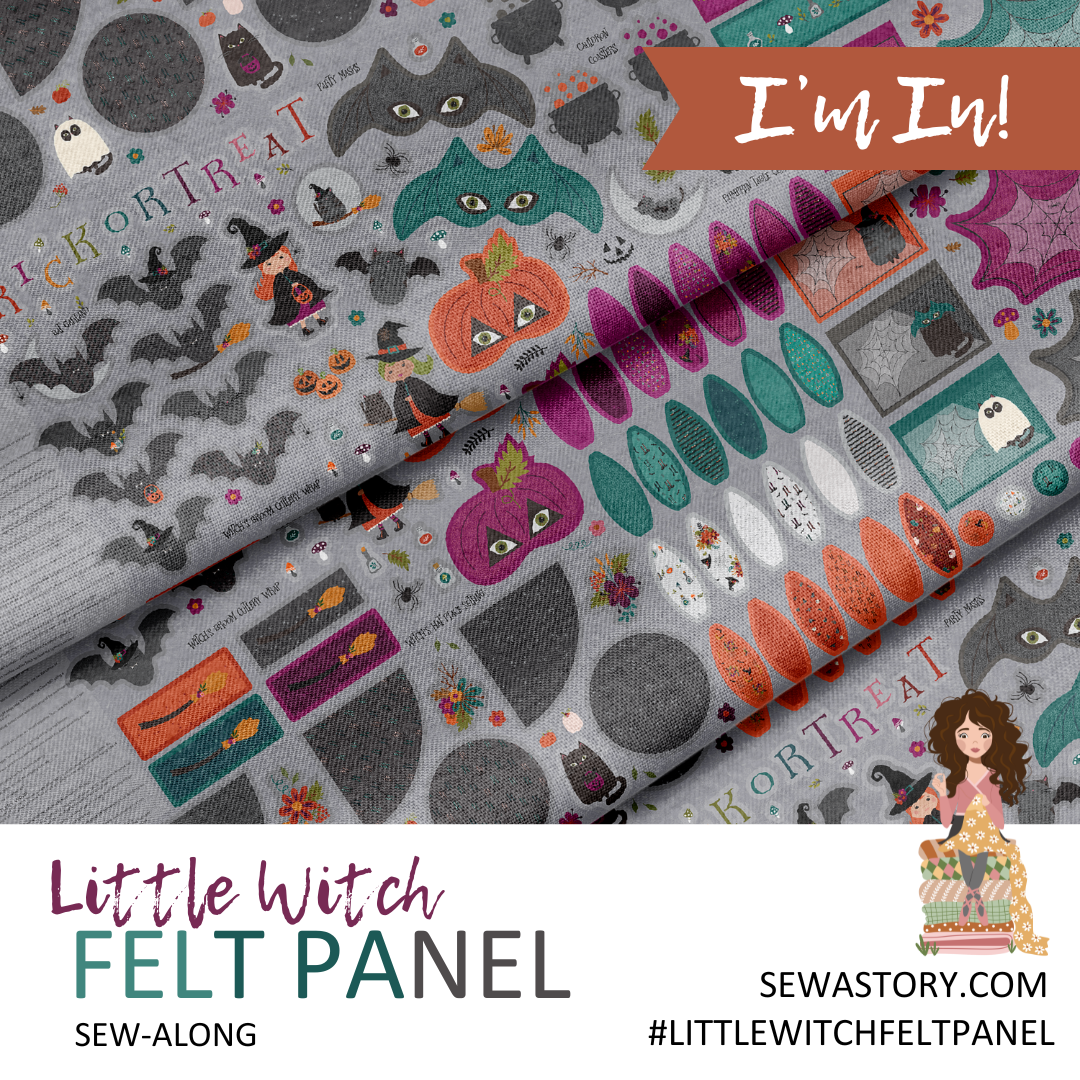
Get ready to create special memories with the Little Witch Party Panel! From the fun and whimsical Bat Banner, to the 3D Witch’s Hat table topper. Everything you need to set a spooktacular holiday table is included in this panel!


Week 4: Little Witch Table Accessories
Week 4 is for creating table accessories! This week, I am walking you through all the fun projects that come with the felt panel and ideas for embellishing them. These projects make a great kid's activity during a Halloween party or can be used for party favors.
Needed Supplies:
•(1) Little Witch Party Felt Panel
Optional Supplies:
(2) pkgs Craft Extra Firm Non-Woven Stabilizer
36” x 48” Basic, black craft felt
4 yards of 1/2” Non-Fraying Ribbon or Jute String for Bat Garland
1 1/2 yards of 1/4” Black Elastic or Ribbon for Bat Masks and Treat Bags
(4) Cinnamon sticks or small twigs for Pumpkin Table Center
Polyester fiber fill for stuffing
Plastic Snaps (or velcro) for Cup Cozy
Grommets for Bat Garland
Felt Balls for Bat Garland
Embroidery Floss for embellishments
Hand sewing needle and thread
Small safety pin

Instructions for Week 4: Little Witch Table Accessories
Making the Cauldron coasters and Spider Web Place mats
Carefully cut all the pattern pieces on the outer cutlines.


2. Optional: Embellish the Felt Doll with any hand embroidery details or sewn-on sequins or buttons. Caution: Be aware of age appropriateness for any embellishments you sew on.
Making the Cauldron Coasters and Spider Web Place Mats

3. Layer a Coaster or Place mat with Craft Extra Firm Non-Woven Stabilizer and black craft felt with RSO. Pin in place and cutout the stabilizer and backing felt generously around each shape.

4. Using a black bobbin thread and matching the top thread to the most prominent coloron each Party Coaster or Placemat, sew in the seam allowance with a shortened stitch length(1.5-2mm).

5. Quilt the Party Coasters or Placemat as desired by hand or machine. Trim the stabilizer and backing felt to match the top printed design with even, smooth scissor cuts. (Use a sharp, small pair of fabric scissors.)
Making the Party Mask
Follow steps 1-5 for each party mask. Place (2) small grommets or buttonhole stitches at the outer edge of each bat wing. Puncture the hole with a sharp, pointed tool. Cut the elastic or ribbon to the desired length and feed the ribbon through the grommet or buttonhole and tie a knot at the ends. Note: You can stitch the elastic or ribbon to the back of the mask.

Making the Potion Cup Cozy
Follow steps 1-5 for each cup cozy. To make closure for the cup cozy, I highly recommend using snap buttons and a snap button tool for safety, age appropriateness and aesthetics to close the potion cup cozy. Velcro is also a good option. Make sure to position the flap snaps correctly by testing before you adhere them permanently. Follow the manufacturer’s directions to secure the snaps correctly and safely.

Making the Witch's Hat Place Setting
Repeat steps 1-5 for each Witch Hat Cone and Witch Hat Brim. Using a sharp pair of pointed fabric scissors, carefully cut out the center of each of the Witch’s Brim pieces along the dotted lines.

Gather the Witch’s Hat top and fold RST aligning straight edges. Sew along the straight edge side.

Turn the Witch’s Hat top right side out using a chopstick or turning tool to help with the point of the cone making sure the point is sharp.

Place the Witch’s Hat cone on top of the coordinating Brim piece and fold the inside tabs up into the cone. Pin and hot glue or whip stitch around the perimeter to secure the cone to the brim. Embellish the hats with the felt flowers and hand embroidery as desired.

Making the Witch's Broom Cutlery Pocket
Cut a black craft felt rectangle to match the Witch’s Broom Cutlery pocket. Pin and sew along (3) sides right sides together, leaving the top open for inserting the cutlery. Trim the excess seam allowance away.

Turn the Witch's Broom Cutlery right side out and use a point turner for clean point.


Making the Treat Bags
Fold each Treat Bag, right sides together. Using coordinating thread color, stitch along the side and bottom seam of the bag.

Fold back the top edge by 1/2" to make a casing. Pin or carefully press with a cool iron. NOTE: Heat from a hot iron can melt the acrylic felt panel. If you choose to iron, make sure to do a TEST press on a scrap of panel felt fabric first. Pin in place.

Edge stitch or whip stitch in coordinating thread color along the top cut edge, creating a drawstring casing. Leave a 1" opening.

Turn Treat Bag RSO and use a point turner for clean points.

Feed the drawstring through the casing with a safety pin. Remove the pin and tie the two ends together in a knot.
Share on Social Media So We Can Cheer Each Other On!
Share your progress on social media using the hashtag #littlewitchpartypanel and TAG me with the "@" symbol @sewastory_jenniferlong, so I can cheer you on!
You can also click on the image to download this graphic! Then you can share on social media to let others know you're sewing along with the Storybook Panel Sew-Along.
Sew-Along Details
This SAL is fully supported, with tips and tricks and all the organization you will need to just relax and enjoy all the fun sewing. We'll share weekly blog posts, emails, social media posts, and videos to make sure you have everything you need to have success sewing the Storybook Little Witch Felt Party Panel. If you haven't already, sign up for SAL communication at the link below.
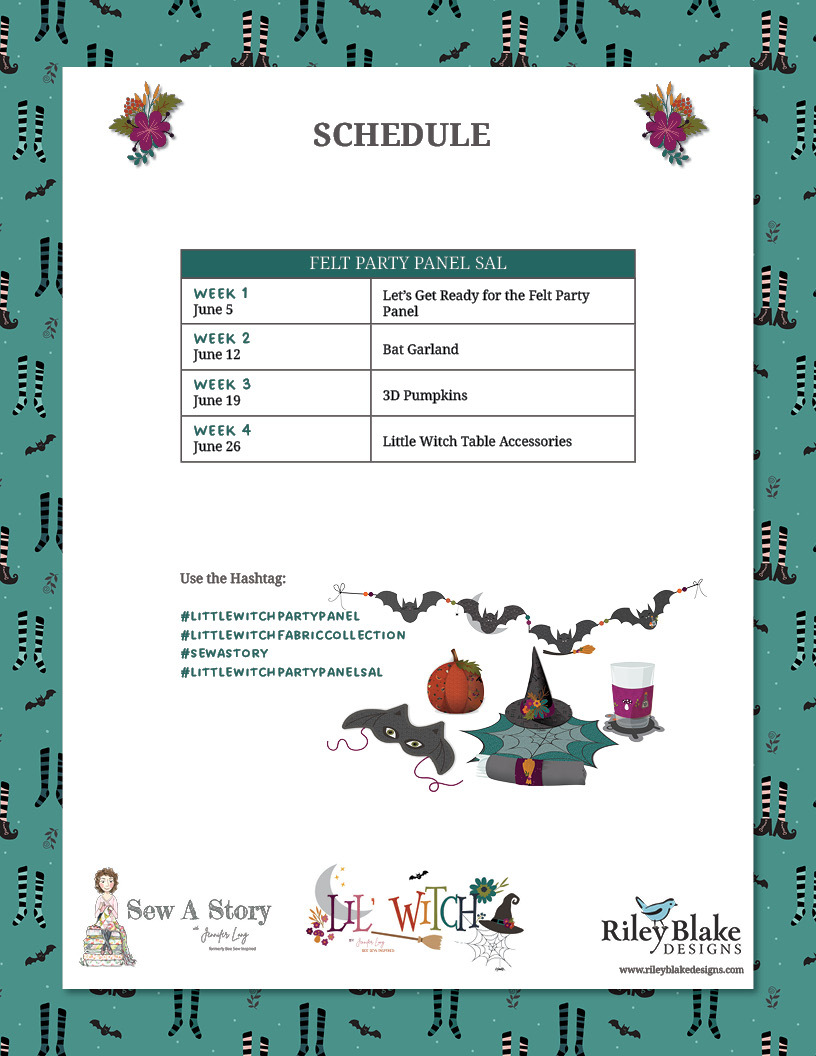
June 5 - Week 1: Preparation & Cutting
June 12 - Week 2: Bat Garland
June 19 - Week 3: 3D Pumpkins
June 26 - Week 4: Little Witch Table Accessories

Size: 36” x 69”
Techniques: Basic cutting, sewing, and hand-embroidery skills
Difficulty: Beginner
I can't wait to see your Little Witch Felt Panel projects! Thanks so much for sewing along with us!
-- Jennifer

Hozzászólások