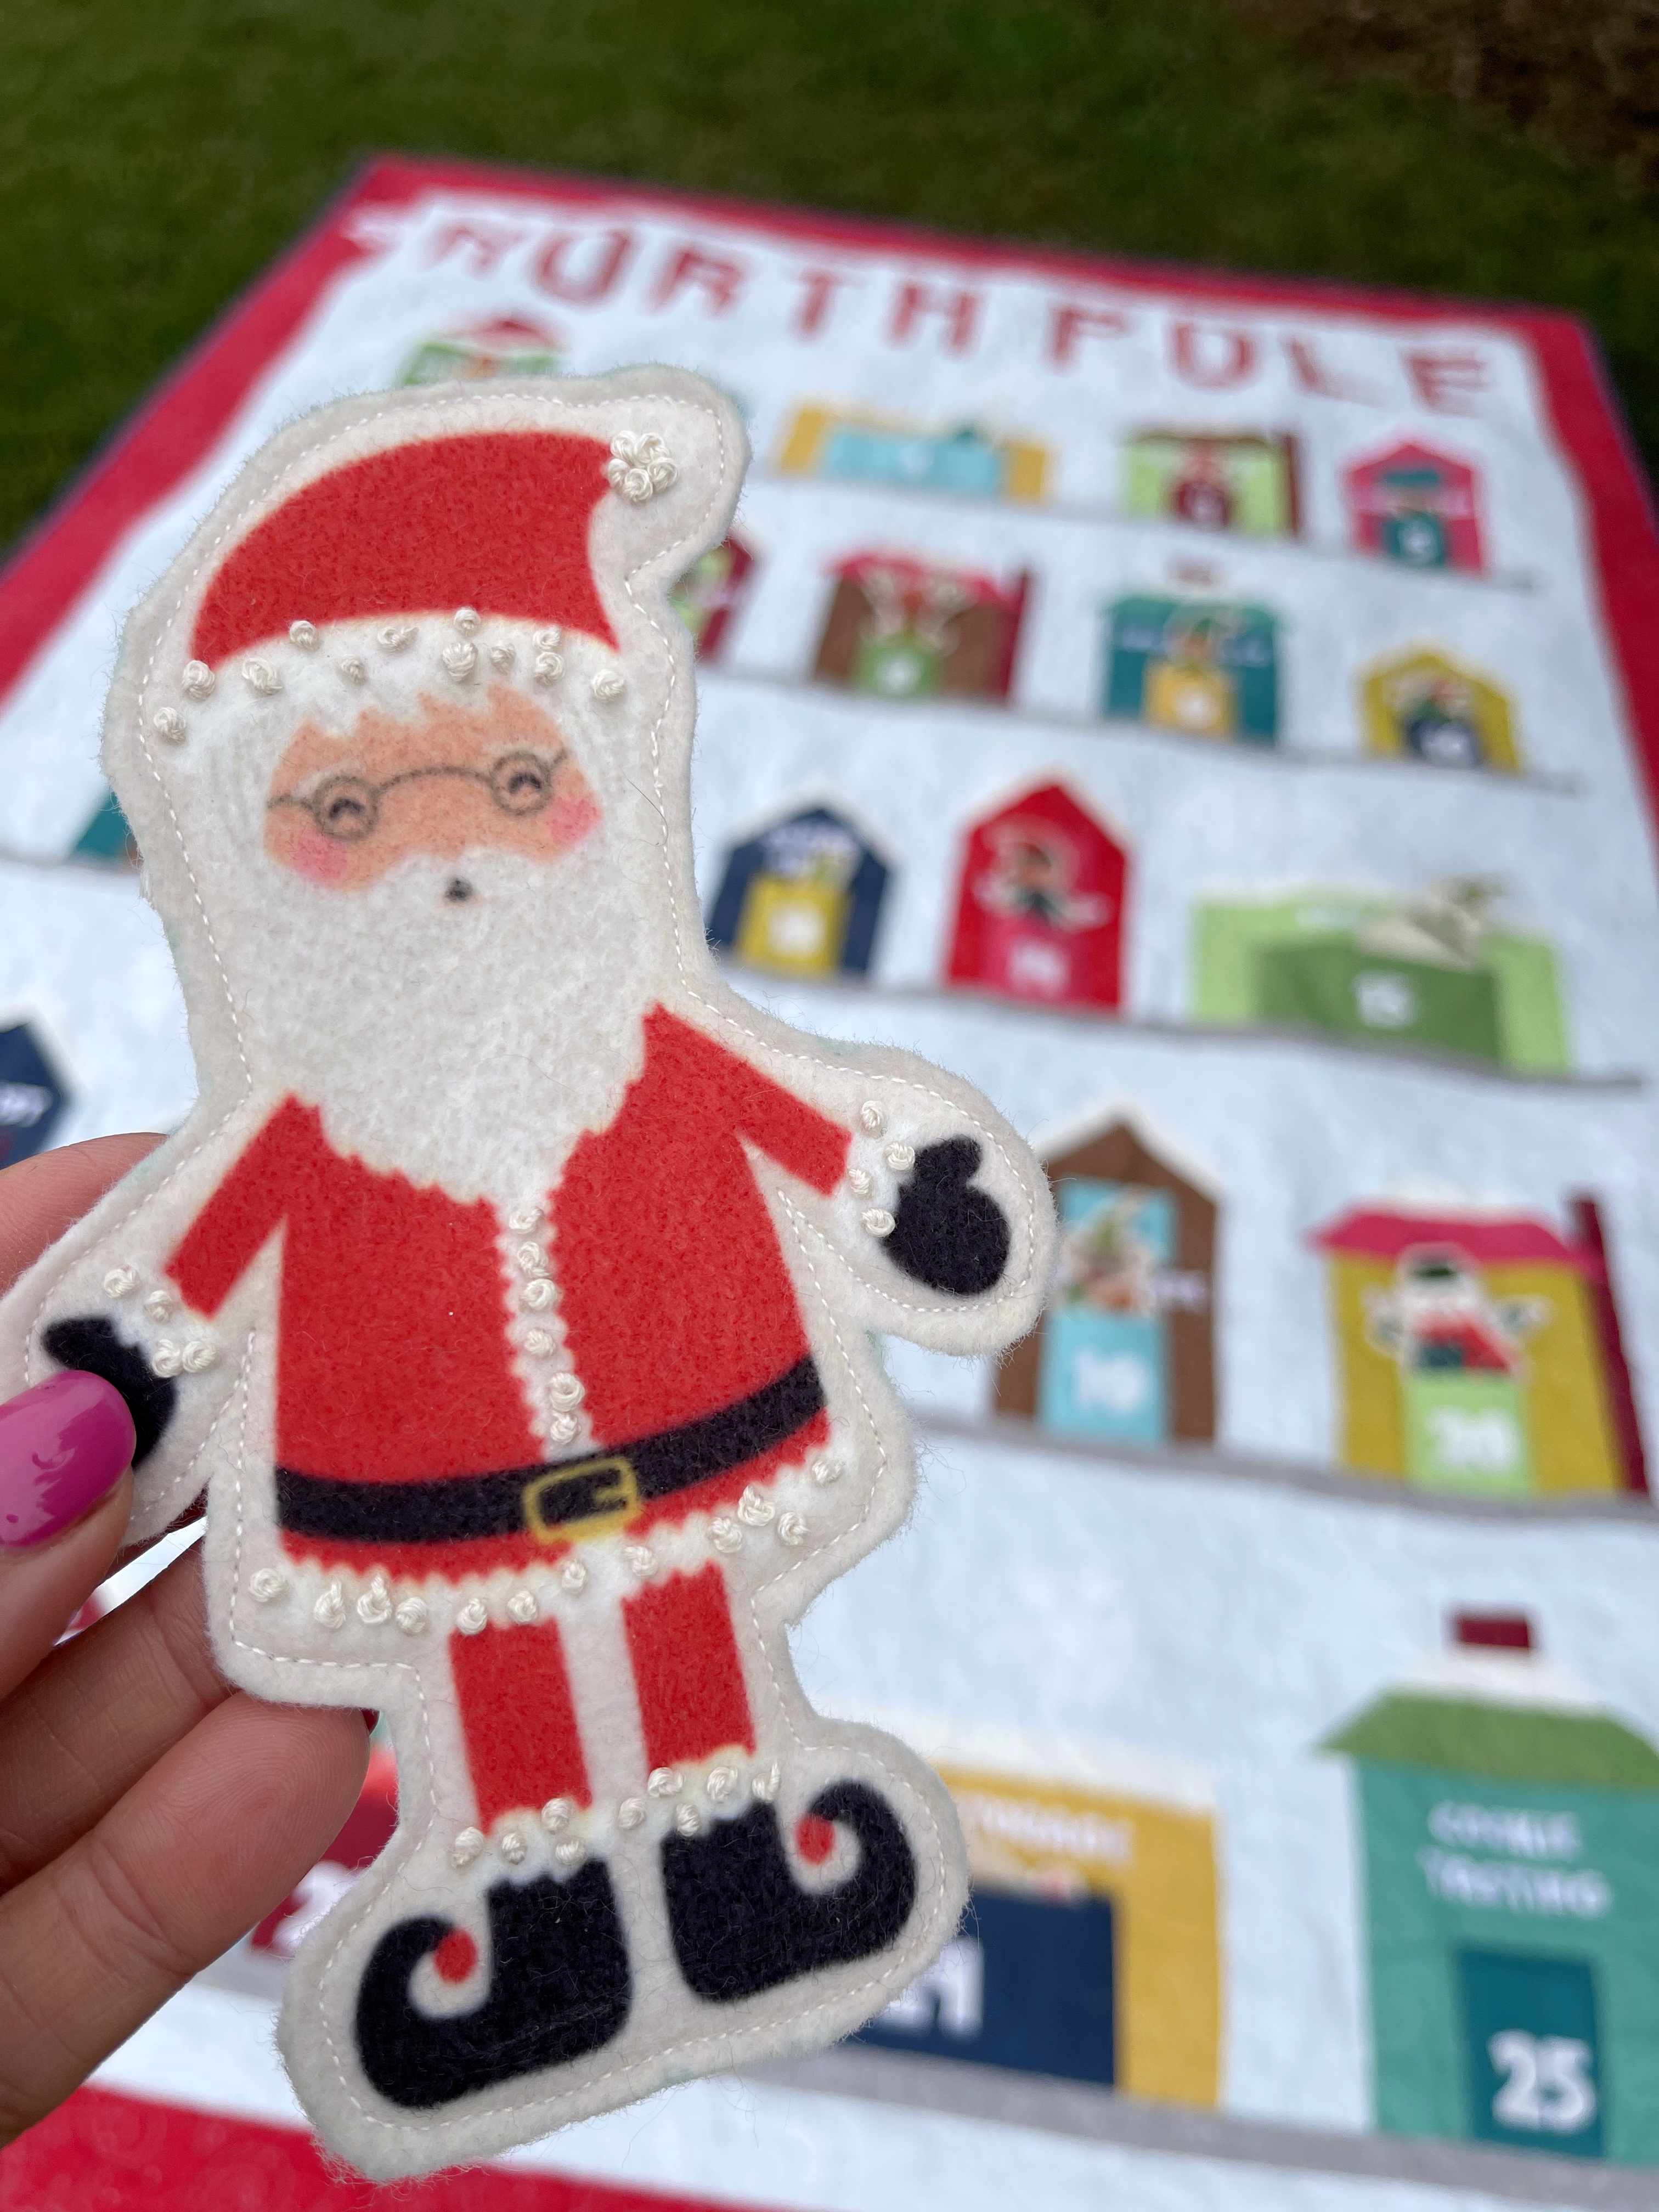
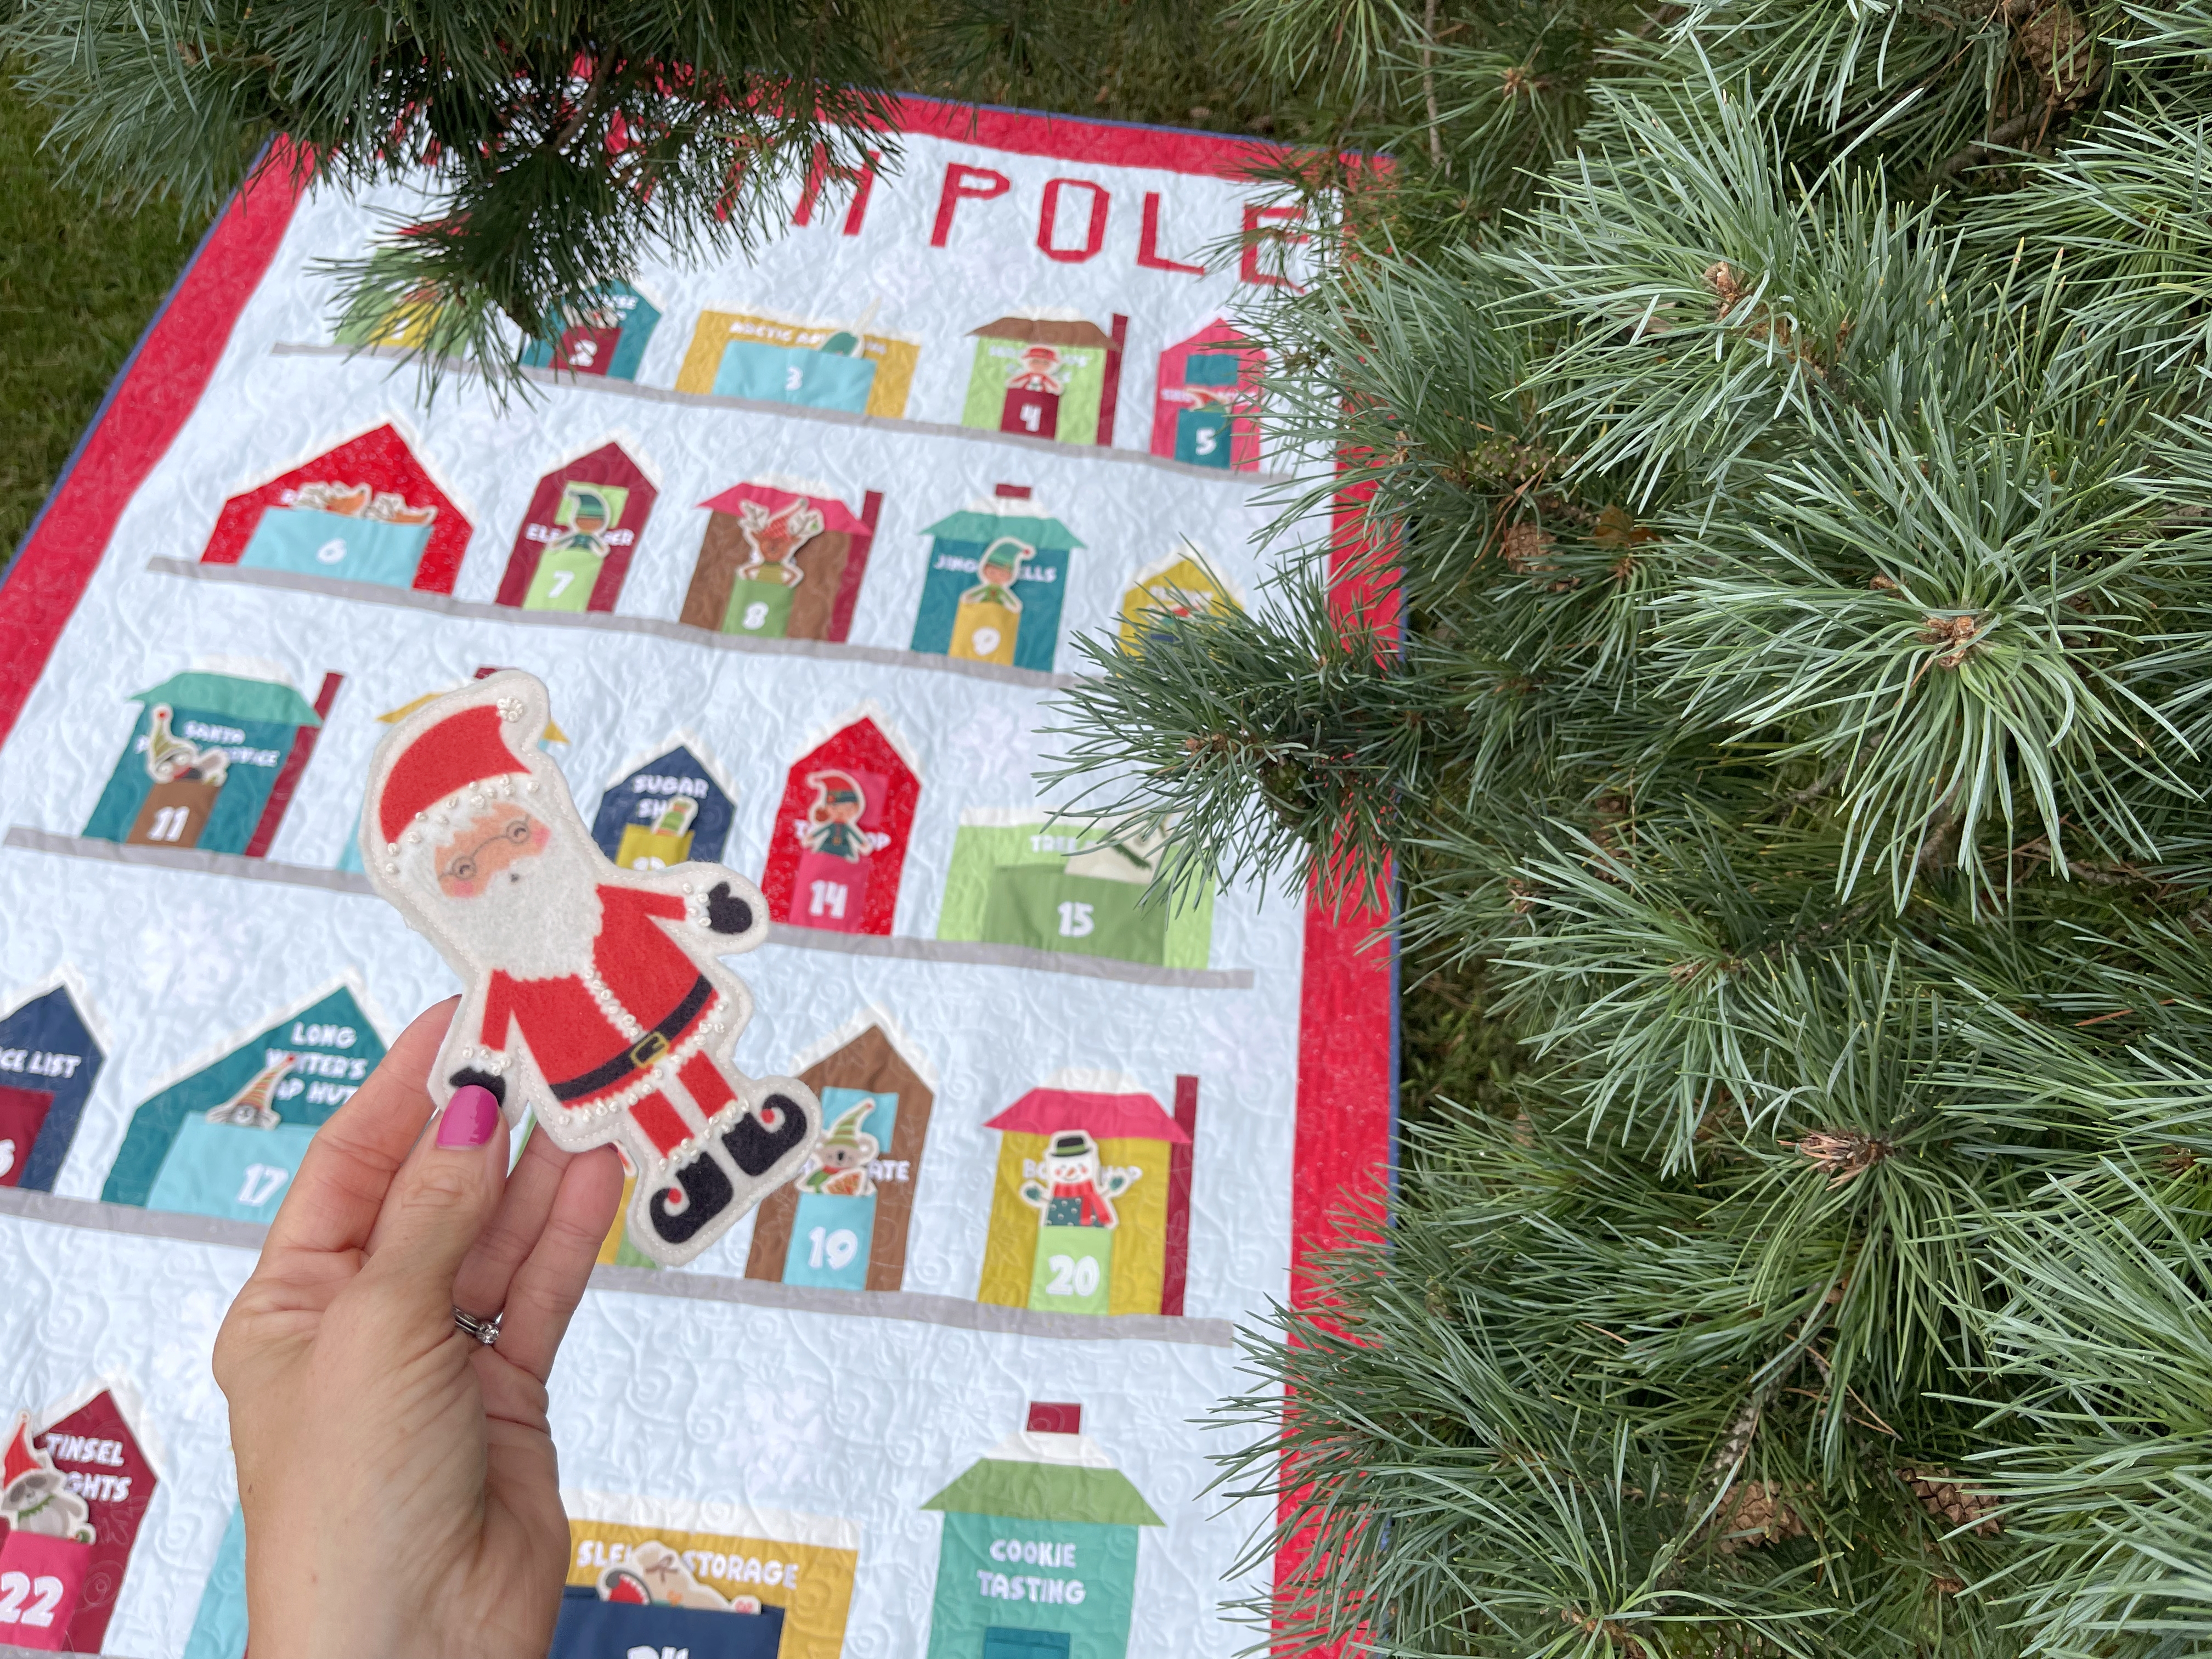
Take a magical trip to the North Pole with this festive throw quilt. Sew houses in a snow-capped village and have fun being creative with a variety of embellishments including applique and hand- or machine-embroidery. The houses even have optional door pockets to turn this quilt into an advent calendar.

Week 8: Finish the Quilt
Welcome to the final week of the North Pole Village Quilt Along! We’ve reached an exciting milestone: finishing your quilt! Give yourself a pat on the back! This week, we’ll focus on quilting around the pockets and adding that extra touch of sparkle to make your quilt truly magical. To make your final steps as smooth as possible, be sure to watch the video where I walk you through the process of finishing your quilt.
A Huge Thank You!
Your dedication, creativity, and enthusiasm have made this quilt along a truly special experience. Each quilt is unique, showcasing your individual style and the effort you’ve put into every stitch. It’s been a joy to watch your quilts come together and see the stunning results of your hard work.
Gather Your Fabrics
I made the North Pole Village quilt with Confetti Cotton solids from Riley Blake Basics. You can choose any fabrics you'd like for this quilt! It's fat quarter friendly, scrap friendly, and would look fantastic in any holiday fabrics! You can get the fabric requirements at the link below.
If you're adding optional applique, you will also need Thermoweb Heat N Bond Lite Iron-On Adhesive Fusible Web.
Buy the Quilt Pattern
I also suggest pairing this quilt with my Santa's Workshop Felt Panel, which includes cute dolls and holiday shapes that you can hide in the pockets of the quilt! See a list of shops carrying it here (scroll down on a page a little)
Quilt-Along Details
This QAL is fully supported, with tips and tricks and all the organization you will need to just relax and enjoy all the fun sewing. We'll share weekly blog posts, emails, social media posts, and some videos to make sure you have everything you need have success sewing. If you haven't already, sign up for QAL communication at the link below.
scroll down on the page to see the sign up link!
September 4 - Week 1: Let's Get Ready
September 11 - Week 2: Prep Your Blocks and Choose Your Embellishments
September 18 - Week 3: Assemble the House Blocks
September 25 - Week 4: Assemble the House Blocks
October 2 - Week 5: Sew the North Pole Words Block
October 9 - Week 6: Assemble the Quilt
October 16 - Week 7: Add Applique Snowflakes
October 23 - Week 8: Finish Your Quilt
Share on Social Media So We Can Cheer Each Other On!
Share your progress on social media using the hashtag #northpolevillagequilt and TAG me with the "@" symbol @sewastory_jenniferlong, so I can cheer you on!
You can also click on the image to download this graphic! Then you can share on social media to let others know you're sewing along with the North Pole Village Quilt-Along.
Size: 66 1/2” x 95 1/2”
Techniques: Basic cutting and sewing with optional hand-embroidery, machine-embroidery, and applique
Difficulty: Beginner
I can't wait to see your North Pole Village Quilts! Thanks so much for sewing along with us!
-- Jennifer


Comments