
The Santa's Workshop Felt Panel is perfect for having fun with the little ones in your life while preparing for the holiday season! Sew, teach, play, and act out the bustling activity of Santa’s Workshop, the elves, and all of the holiday helpers.


Week 3: Prepare & Sew the Bag
Week 3 is for making the bag! Watch the video below, as I share how to make the Santa's Workshop Felt Panel alongside Misty from Missouri Star!
Needed Supplies:
•(1) Santa's Workshop Felt Panel
Optional Supplies:
36” x 48” Basic, white craft felt for back of dolls
Embroidery Floss for embellishments
Hand sewing needle and thread
Plastic snaps (or velcro) for bag closure
Batting scrap for bag handles
1/2"non-fraying ribbon for bag tags
Pinking shears
Embellishments such as sewn-on sequins or buttons

Instructions for Week 3
To make the bag using the easy-use-method, refer to the instructions on the fabric panel. The instructions that follow are for the turned method.
Prepare the handles by backing each with apiece of batting or stabilizer. Fold the straps in half lengthwise, RST. Pin and sew along one side as shown. Backstitch at the beginning and end for reinforcement.

2. Turn the straps inside out. For extra strength, stitch vertical lines along the length of the handle in a matching thread color. Set aside.

3. Trim the pockets with a pair of scissors or pinking shears, then pin and sew all the pockets in place to the outside and inside sections of the bag, leaving the pocket opening open. Match illustrations on the main bag panels as desired. Be sure to backstitch at the start, corners, and at the end for reinforcement.

4. Layer the bag front and stabilizer by basting around the entire perimeter at ⅛" to keep the stabilizer from shifting during assembly. Set aside.

5. Position the prepared handles in place as desired. Pin the unfinished ends of each handle to lay OUTSIDE the bag. Baste the handles in place. Note: To make using the Easy-Sew Method, refer to the instruction on the panel fabric.

6. Sandwich with the prepared backing, right sides out. The handle ends will be INSIDE this layered sandwich. Use pins to secure the entire perimeter.

7. Sew around the perimeter of the bag, leaving an opening for turning.


8. Using a small pair of scissors, carefully clip around the perimeter of the entire seam allowance (1/4"or 1/2" of your choice) and notch out all the inside corners. Turn the bag right side out through the bottom opening. Push corners out with a point turner.

9. Finger press the entire seam allowance or CAREFULLY press with a cool iron. Note: Heat from a hot iron can melt the acrylic felt panel. If you choose to iron, make sure to do a TEST press on a scrap of panel felt fabric first.
10. Using a coordinating thread color, stitch around the entire perimeter of the play mat/bag to give the edges a nice, clean finish.

11. Using a quilting ruler and an invisible marker, draw the seam line for the fold of bag. Sew along the drawn fold lines.

Share on Social Media So We Can Cheer Each Other On!
Share your progress on social media using the hashtag #santasworkshopfeltpanel and TAG me with the "@" symbol @sewastory_jenniferlong, so I can cheer you on!
You can also click on the image to download this graphic! Then you can share on social media to let others know you're sewing along with the Santa's Workshop Panel Sew-Along.
Sew-Along Details
This SAL is fully supported, with tips and tricks and all the organization you will need to just relax and enjoy all the fun sewing. We'll share weekly blog posts, emails, social media posts, and videos to make sure you have everything you need to have success sewing the Santa's Workshop Felt Panel. If you haven't already, sign up for SAL communication at the link below.
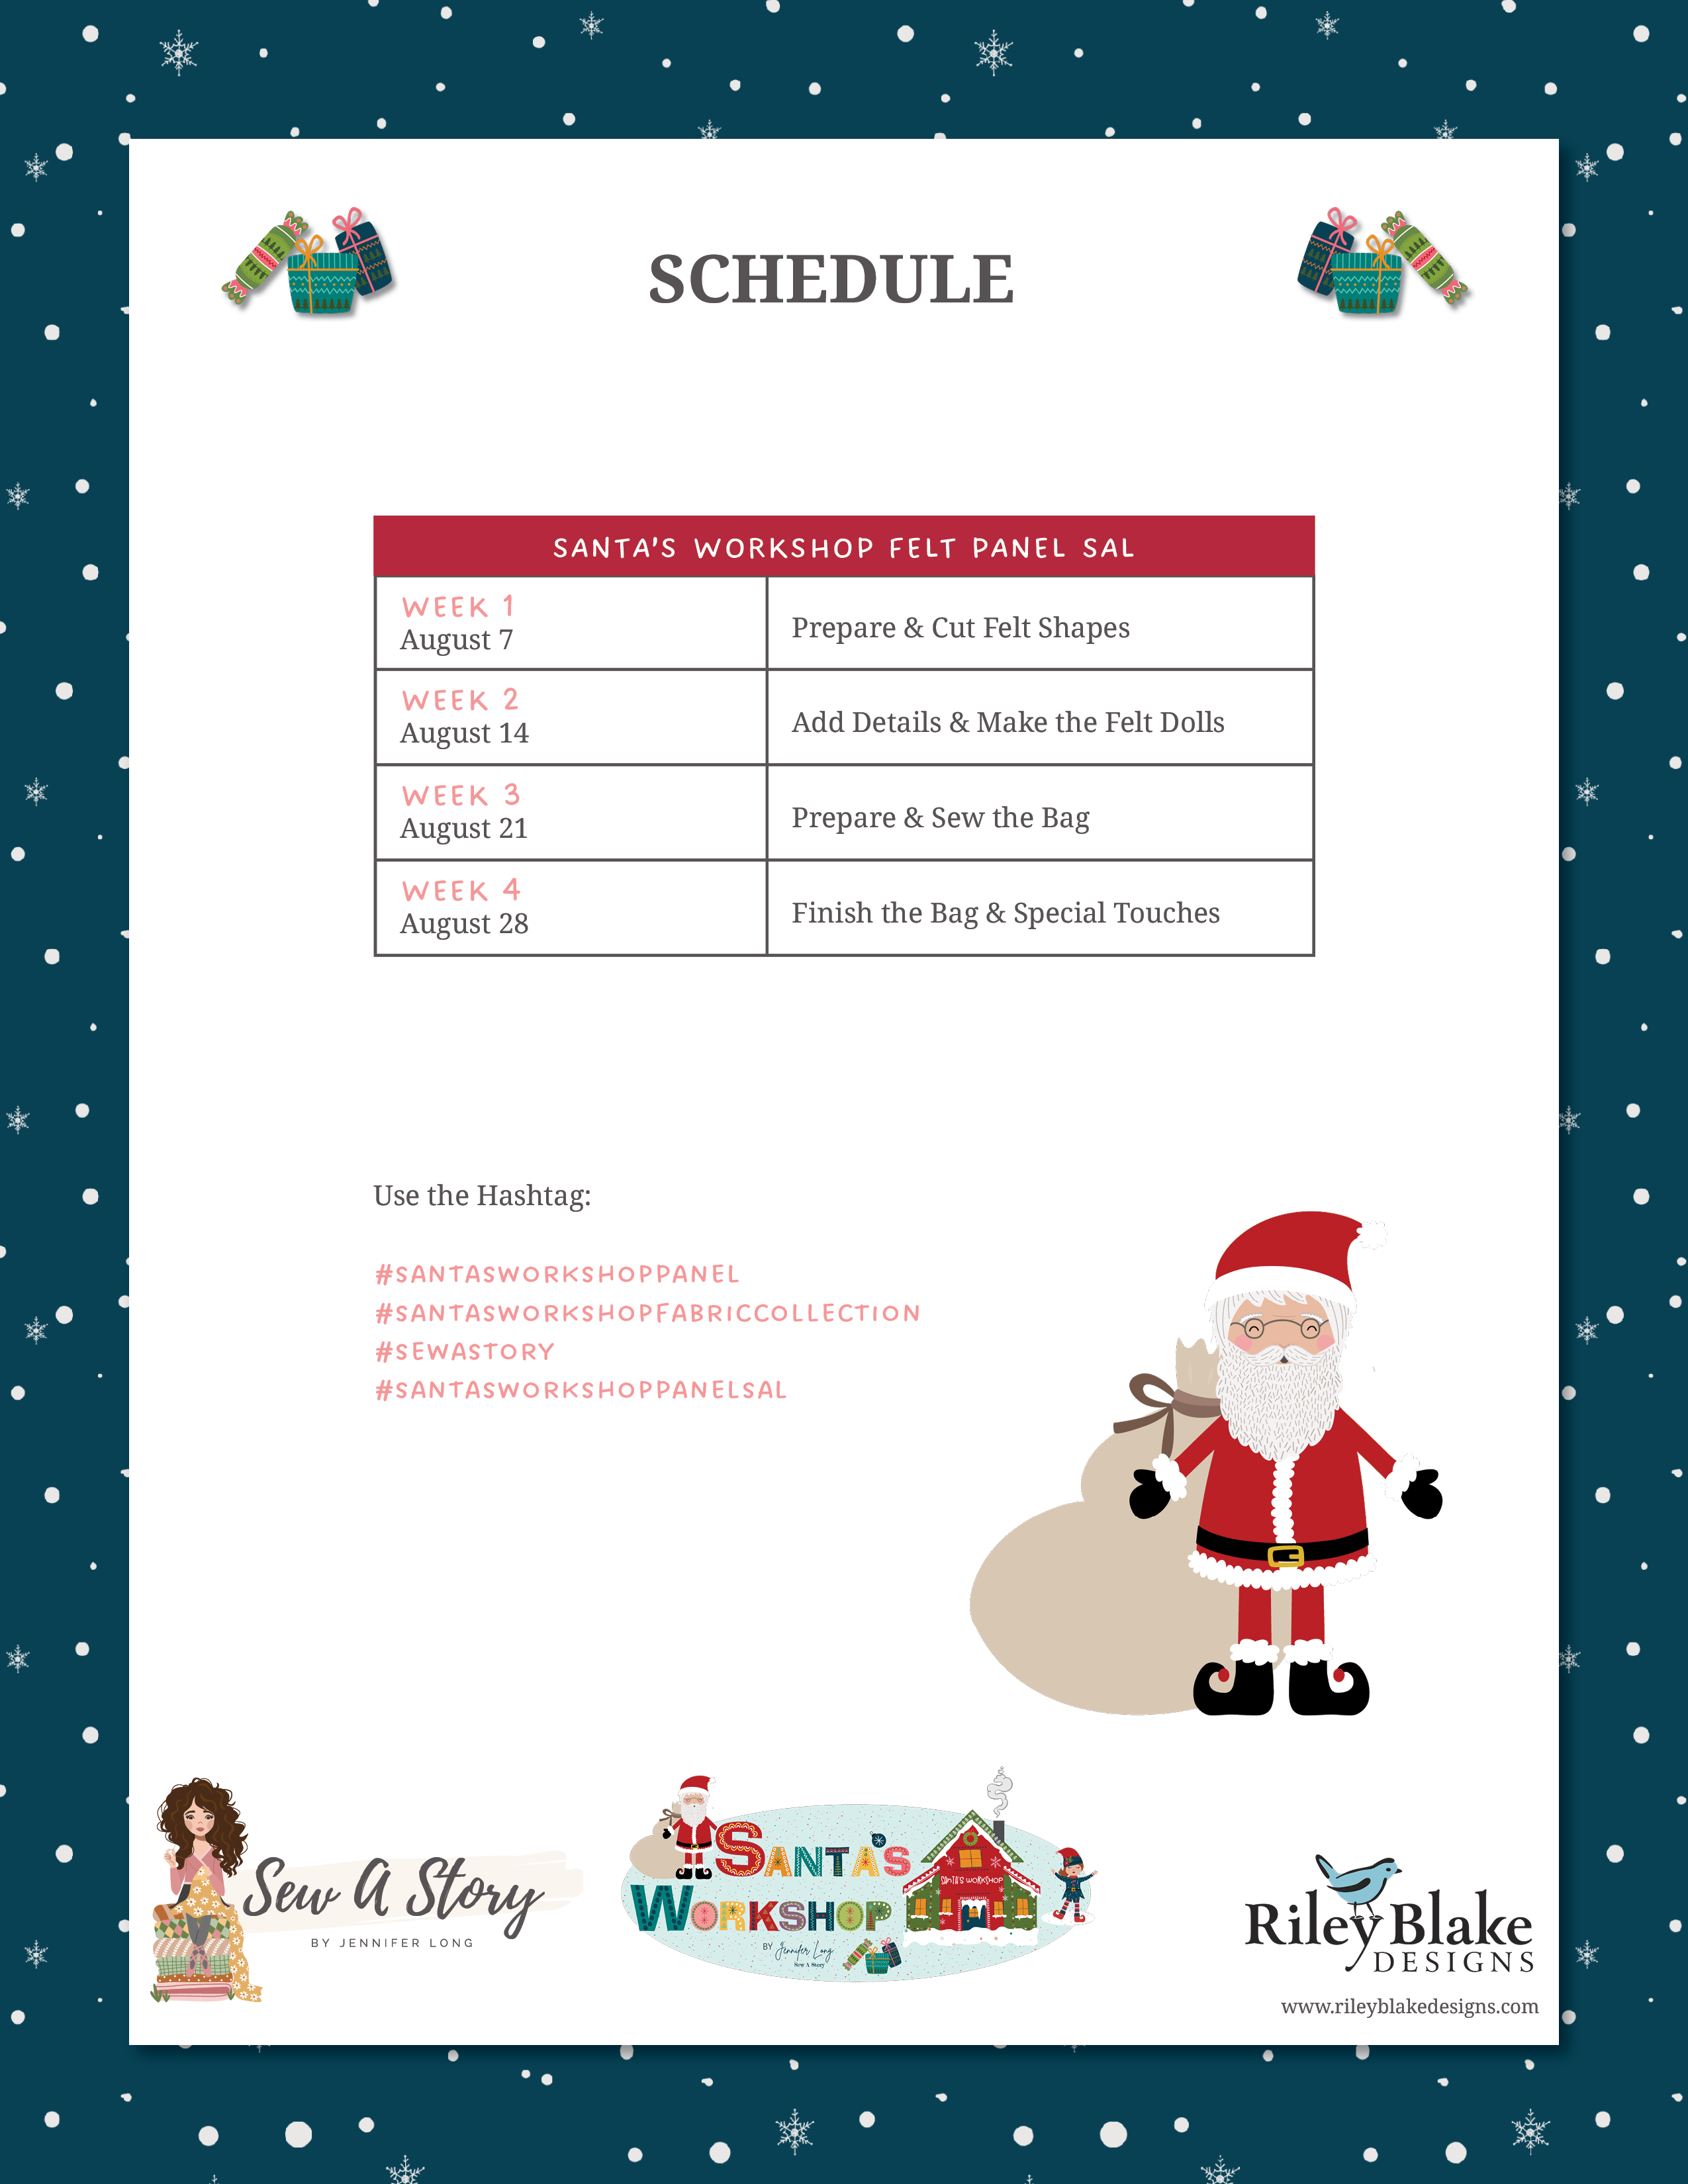
August 7 - Week 1: Preparation & Cutting
August 14 - Week 2: Adding Details & Making the Felt Dolls
August 21 - Week 3: Prepare & Sew the Bag
August 28 - Week 4: Finishing the Bag & Special Touches

Size: 36” x 69”
Techniques: Basic cutting, sewing, and hand-embroidery skills
Difficulty: Beginner
I can't wait to see your Santa's Workshop Felt Panel projects! Thanks so much for sewing along with us!
-- Jennifer

Comentarios